Christmas Cookies!

I love to bake if you haven’t guessed that already from all the dessert recipes that I post. So, you can understand why I enjoy the holidays so much.

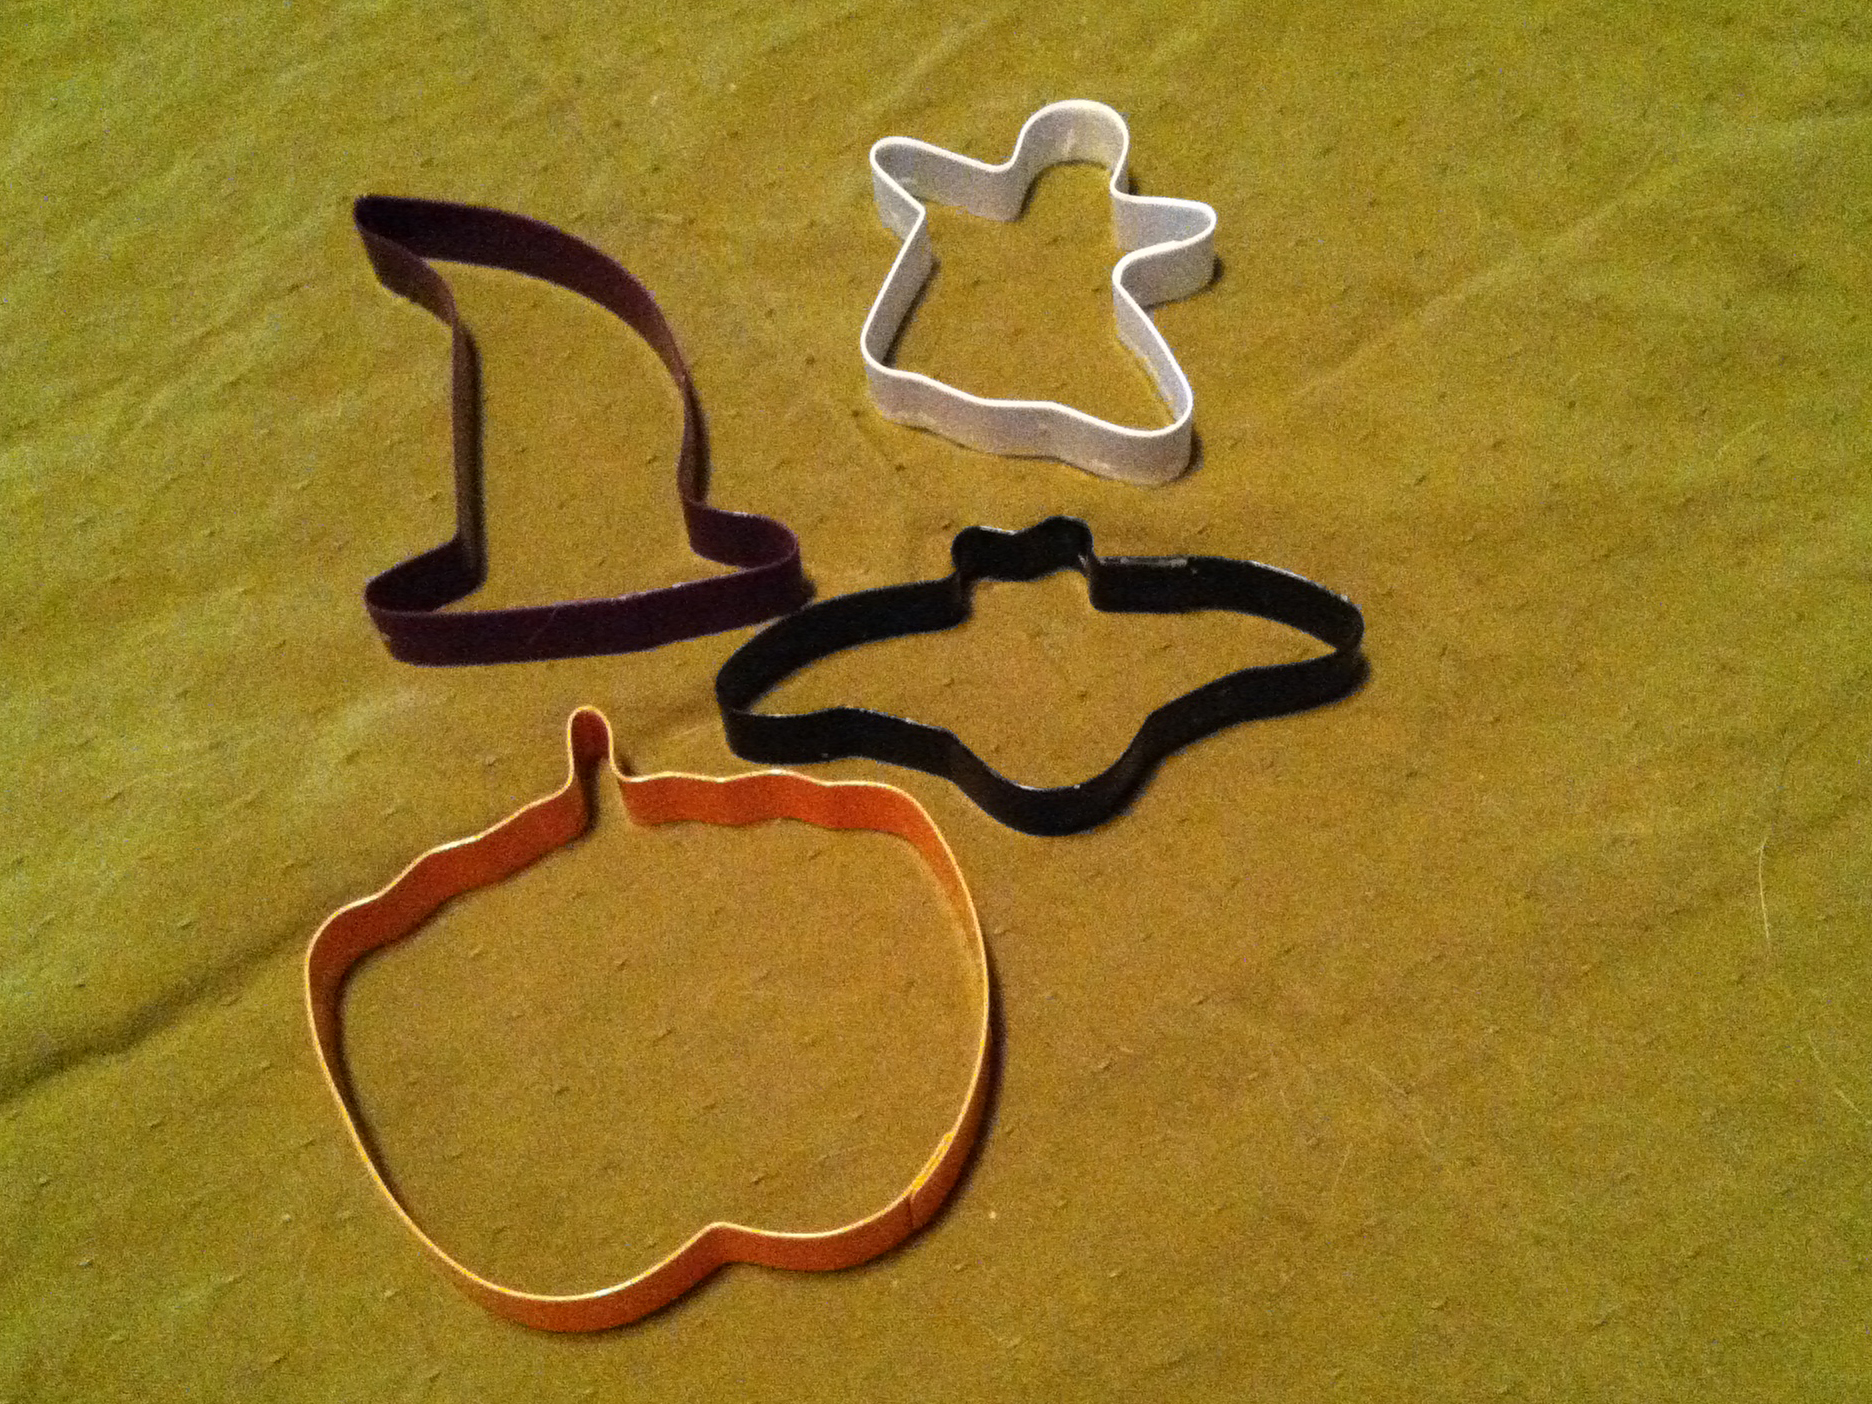
Every year I make the usual Christmas cookies. Butter cookies, Russian Teacakes, Biscotti. But this year I wanted to make a cookie that I have never attempted before. While at the grocery store I came across a cookie cutter for Linzer cookies. You know, those sandwich cookies with a cut out on the top? I’ve always loved them but never had the right equipment. So, I bought the cutter and lucky for me, the recipe was on the back of the packaging. The recipe comes from Wilton Industries, that wonderful company that makes so many supplies for bakers.

Let me just say that this recipe doesn’t disappoint. Crisp cookies laced with almond and filled with a good quality (seedless) raspberry jam. Best of all, they are really very easy to make. One thing to remember when making these lovely little gems is that the dough tends to warm up fairly quickly when you work with it. Don’t be surprised if you have to return the dough to rest in the refrigerator as you are rolling out the dough. Other than that these shouldn’t give you any problems in the kitchen. Oh, a FYI, I doubled the recipe listed below. They’re just so darned good I wanted to make sure I had some for guests!

Enjoy these light, crisp and oh so pretty cookies after your holiday dinner.

Linzer Cookies

  • 2 cups all-purpose flour
  • 2/3 cup finely ground almonds (about 2 oz)
  • 1/4 tsp cinnamon
  • 1 cup butter, softened
  • 2/3 cup granulated sugar
  • 1 egg
  • 1/2 tsp vanilla extract
  • 1/2 cup (approx) best quality seedless raspberry jelly
  • confectioners sugar (optional)

In a small bowl, combine the flour, almonds and cinnamon and set aside. In a large bowl beat the butter and sugar until light and fluffy. Add the egg and vanilla and mix well. Add the flour mixture only until just incorporated. Divide the dough in half, wrap in plastic wrap and refrigerate for an hour or until firm enough to roll.

Preheat oven to 350 degrees Farenheit. On a floured surface roll out one of the disks of dough. Cut half the dough with the round (bottom) cutter. Place on a cookie sheet lined with parchment paper. You may want to put the cookie sheet in the refrigerator while you are cutting out the rest of the dough. Roll out the other half of dough and cut out the cookies, this time adding the insert in the shape of your choice. I used a star for the holidays. Make sure you have an equal number of cookie bottoms and tops.

Bake 10-12 minutes until light golden brown. Cool on cookie sheet for two minutes and then transfer to a wire rack to cool completely. Invert bottom cookie and spread with a teaspoon of jam. Place the top cookie and press gently. Dust with confectioners sugar if desired.

Cookies 01

Posted in Desserts and Sweets | Leave a comment

Pumpkin Pie Alternative

If you live in the U.S. you are probably gearing up for the big feast this coming Thursday. Thanksgiving is a wonderful time to gather with family and friends, eat more than you should, and maybe watch some football. I don’t know about you, but I love all the traditional foods. There is nothing more satisfying than a beautiful roasted turkey filled with your favorite stuffing. Or a baking pan filled with sweet potatoes covered in bubbling, golden brown marshmallows. Yes, I like those marshmallows on top of the sweet potatoes!  Maybe you prefer the green bean casserole that your favorite aunt brings every year. You know the one – french style green beans, canned mushroom soup, blended together and covered in those crunchy french fried onions. Yep, that brings back memories.

While I crave those classic Thanksgiving dishes, I also like to switch up a couple of items too. That’s when I think of desserts. Don’t get me wrong, I love pumpkin pie and I know that it will be part of the menu this year. But how about something that is a bit lighter? Maybe not in calories, but lighter in taste. I started thinking about fruits that are typically in season now. Pears came to mind and I decided on a tart made with a classic pate sucre and luscious fruit with a hint of cinnamon and ginger. Oh, and if you can’t decide between the pumpkin or the pear? Just have a “small” slice of each!

Pear Tart

Tart Crust – Pate Sucre

  • 2-1/3 cups all-purpose flour, sifted
  • 1/3 cup sugar
  • 1/2 pound (2 sticks) unsalted butter, chilled, cut into small pieces
  • 2 egg yolks
  • 1 or 2 tablespoons heavy cream

In a food processor, combine flour and sugar. Add chilled butter and pulse until the flour resembles corn meal. In a small bowl whisk the egg yolks and add one tablespoon of heavy cream. Add to flour and butter mixture. Pulse until it forms a ball. You may need to add an additional tablespoon of cream. Note: I had to add a bit more to hold the dough together. Much depends on the humidity, temperature, and the like in your kitchen. Add small increments of cream until the dough forms a ball. Turn the dough onto a floured surface and form together in a disk. Wrap in plastic wrap and refrigerate for an hour.

Pear filling

  • 4 large ripe Bartlett pears, pealed, cored, and sliced in thin wedges
  • 2 tablespoons lemon juice
  • 1/4 to 1/2 cup sugar, depending on sweetness of the pears
  • 1 tablespoon all-purpose flour
  • 1/2 teaspoon ground ginger
  • 1 tsp ground cinnamon

Mix all of ingredients in a bowl. Set aside while you roll out the tart dough.

Pre heat oven to 375 degrees F. Grease a 10″ tart pan with butter or cooking spray. Roll out dough and place in the pan. Add the pear mixture and spread evenly. Bake for 40 minutes until crust is golden brown. You may want to put a cookie sheet on the rack under the tart pan in case it drips. Cool on a rack. Dust lightly with powdered sugar. Serve at room temperature.

The pears are so fragrant and juicy with an almost floral quality. The slight bite of ginger and cinnamon complete this awesome tart.

The pears are so fragrant and juicy with an almost floral quality. The slight bite of ginger and cinnamon complete this awesome tart. It really is a terrific addition to your Thanksgiving meal!

Posted in Desserts and Sweets | Tagged , , | Leave a comment

Halloween Sweets

In our house we are gearing up for one of my absolute favorite holidays, Halloween! Every year The Dude and I host a party which we call Brew-O-Ween. Food, a occassional costume, and BEER! Lots and lots of beer. This event is where The Dude brings out all of his most recent home-brewed libations for everyone to taste, rate, and enjoy.

In between trying to get the house cleaned and decorated, I’ve also been getting the menu together. Whatever I can do ahead of time, I’m doing it! This weekend it’s Halloween cookies and yummy chorizo and black bean empanadas. In going through earlier posts I realized that I never gave a recipe that is near and dear to my heart, my mom’s butter cookie recipe.

This cookie recipe was handed down from my grandmother, to my mom, and then to me. Now you have it too! Typically I make these cookies at Christmas, but my sister-in-law, who knows that Halloween is my favorite holiday, sent me some adorable cookie cutters. Witches hat, ghost, bat, and pumpkin. I just had to make these for the party.

Love these adorable cookie cutters!

Love these adorable cookie cutters!

Butter Cookies

  • 2 cups butter, room temperature
  • 2 eggs, room temperature
  • 6 cups all-purpose flour
  • 1 cup sugar
  • 6 tsp. vanilla
  • 1 tsp. baking powder

Beat together butter, sugar, eggs and vanilla. Sift flour and baking powder together and add to butter mixture in four or five increments. You’ll be able to use a heavy-duty mixer for a part of the mixing, but eventually you are going to have to get your hands in the dough to mix the last of the flour. Wrap dough tightly in plastic wrap and chill for at least an hour.

Roll out dough and cut into shapes. Bake at 425 degrees F for 5-7 minutes on cookie sheets lined with parchment paper. Watch them as they burn easily. Transfer to a wire rack to cool completely.

Decorate with royal icing. I use the recipe found on the powdered meringue package, which you can find in most baking aisles. Let cookies dry completely and store loosely in cookie tins.

Cookies are iced! I admit I'm not the best cookie decorator, but this was fun to do!

Cookies are iced! I admit I’m not the best cookie decorator, but this was fun to do!

Here is what I love about these cookies. Buttery and not too sweet. Let the icing bring the sweetness to the party. These take a bit of work but are well worth the effort. You can always make the cookies ahead of time and store in a cookie tin until you are ready to ice them. Decorating cookies was something that my mom always let my sister and I do during the holidays. It’s a fun way to include the kids in the kitchen and let them get creative.

Have fun and enjoy these cookies with a big glass of milk. You’ll feel like a kid again!

Posted in Uncategorized | 3 Comments

Fall Flavors

Certain foods and flavors remind me of the seasons. Winter brings the smells of cinnamon and sugar, and all sorts of yummy cookies and sweets. Spring is a time of roasted lamb and fresh herbs and roasted asparagus with parmesan cheese melting on top. Summer is filled with insalata caprese (tomato and mozzarella salad with fresh basil), roasted corn, and just about any fresh fruit or veg that you can find. But fall, ah….  Fall is my favorite time of year. Apples, pork, root vegetables. Earthy big flavors that pair so well with cool days and crisp cold nights with the smell of wood smoke in the air – now that’s my idea of heaven!

This past weekend was chilly and cloudy – perfect fall weather! I thought about the type of cooking that I enjoy most and my favorite flavors of fall.  I decided on a pork roast braised with fennel, onion, and Granny Smith apples. Served with a side of mashed potatoes. Happy days are here again! So good that The Dude said that this was my number one dish for the fall. This is a super easy dish that will impress the heck out of family and friends. Here is my recipe.

Pork Roast with Fennel, Apple and Onion

  • 3-4 pound pork loin
  • 3 TBSP vegetable oil
  • 1 cup of your favorite dry white wine (note: you could also use a dry hard apple cider)
  • 2 large bulbs of fennel, stalks removed, roughly sliced
  • 1 large white onion, roughly sliced
  • 1 large Granny Smith apple, skinned, cored, and cut in rough chunks
  • Salt and pepper to taste

Preheat oven to 350 F.

Over medium high heat in a large, heavy dutch oven, heat the vegetable oil. Season the pork with salt and pepper, add to the pan, and brown on all sides. Remove the roast to a plate and add wine to the pan to scrape up the browned bits of pork. When the wine has reduced by half, add the fennel, onion and apple. Saute until the onions begin to turn translucent. Salt and pepper to taste.

Place the pork loin on top of the vegetables and add a little water to the bottom of the pan – about 3/4 cup. Cover with a lid and roast in the 350 degree oven for 1-1/2 hours.

Remove the pork loin to a cutting board, cover with aluminum foil, and let rest for 10 – 15 minutes before slicing. Place the vegetables on a platter, lay the sliced pork loin over the vegetables, and moisten with a bit of the juices in the dutch oven.

IMG_1401

The pork is so tender and moist. The soft flavors of the anise in the fennel with the sweetness of the onion and the tart hint of apple. So delicious that you’ll be back for seconds!

Posted in Main Dishes | Tagged , , , , , , | Leave a comment

S’il vous plaît restez pour le dîner!

For those that don’t speak French, the title means “Please stay for dinner!” Full disclosure – I don’t speak French, but I do have Google translator. However, I have been to France. It’s beautiful and the food is divine!  Bistro fare is simple, with amazing flavors coming together to make wonderful memories for your taste buds.

Since I’m not working at the winery today the Dude decided that I am in charge of dinner. I have to say, he’s been awesome with making dinner lately since I’ve worked 6-7 days a week. Fortunately, I’m wrapping up the part-time job at the end of September. The Dude is looking forward to more meals from you-know-who!

It’s a lovely fall day today – chilly, sunny and breezy. Time for comfort food with a French twist. I have been on a real tart kick lately so I decided on a savory onion and goat cheese tart. Then, since it is fall I decided to make an earthy salad of roasted beets and green beans, dressed with aged balsamic vinegar and extra virgin olive oil.  For the main event I decided on braised short ribs. Ah! I’m in heaven.  So let’s get crackin’ on some fabulous French bistro food.

Onion and Goat Cheese Tart

Pastry:

  • 1 -3/4 cups all-purpose flour
  • pinch of salt
  • 1/2 cup unsalted butter, cold and cut in cubes
  • 2 egg yolks, beaten
  • 3-4 TBSP cold water

Filling:

  • 1 TBSP olive oil
  • 1 large onion, sliced
  • salt & pepper to taste
  • 8 oz. goat cheese, room temperature
  • 8 oz. cream cheese, room temperature
  • 2 eggs
  • 2/3 cups heavy cream

To make the pastry in a food processor, combine the flour, salt and butter and pulse until the butter is in pea sized pieces. Add the eggs and water and pulse until the dough holds together. Turn out on a lightly floured surface and pat the dough into a disc. Wrap in plastic wrap and refrigerate for at least a half hour.

Preheat oven to 350 degrees. Roll out the dough to a 12 ” disc and place in a 10″ tart pan with removable sides. Line with aluminum foil and fill with pie weights or dried beans. Place on a baking sheet and bake for 9-10 minutes until set. Remove from oven, remove aluminum foil and weights, and prick the bottom of the crust with a fork. Return to the oven and bake for 3-4 minutes until golden brown. Cool in the pan on a wire rack.

To make the filling, pre-heat the oven to 350 degrees. In a saute pan, add the olive oil on medium heat. Saute the onions until golden brown. Salt and pepper to taste and remove from heat.

In a bowl, combine the cheeses, eggs, cream, and salt and pepper to taste. Beat until smooth.

Spread the onion mixture in the bottom of the tart pan. Cover with the egg and cheese mixture and bake in a 350 degree oven 20 minutes or until a knife inserted in the center comes out clean. Serve warm or at room temperature, slice in wedges.

Love this tart! The cream cheese is great for mellowing out the bite of the goat cheese. The pastry crust is flaky and light. Bliss!

Hot from the oven and it smells so good.

Hot from the oven and it smells so good.

A thin slice of the tart. So rich and creamy that a small piece hits the spot.

Roasted Beet and Green Bean Salad

  • 2 large fresh beets
  • 4 oz. green beans
  • Balsamic vinegar and extra virgin olive oil
  • Salt and pepper to taste

Pre-heat oven to 350 degrees.  In a bowl drizzle olive oil on the beets to coat them. Wrap the beets in aluminum foil and roast for 1 hour and 15 minutes. Remove from foil and allow to cool.

Steam the green beans for 5-7 minutes. Submerge in cold water to stop the cooking process and drain.

Slice the beets thinly and plate. Add the green beans and drizzle with the vinegar and olive oil. Salt and pepper to taste.

Lovely, simple salad. The earthy sweetness of the beets is a perfect foil for the fresh green beans.

Lovely, simple salad. The earthy sweetness of the beets is a perfect foil for the fresh green beans.

Braised Short Ribs

  • 2 TBSP vegetable oil
  • 6 – 8 pounds thick and meaty short ribs
  • 2 carrots, peeled and chopped
  • 2 celery stalks, chopped
  • 2 onions, chopped
  • 6 – 8 shallots, chopped
  • 1 TBSP tomato paste
  • 1/4 cup all-purpose flour
  • 1 head of garlic, halved crosswise
  • 3/4 of a bottle of full-bodied red wine
  • 4 cups of beef stock
  • Salt and pepper to taste

Pre-heat oven to 350 degrees. In a large flame-proof casserole or Dutch oven over medium-high heat, heat the oil and brown the meat on all sides. Remove the meat to a plate.

In the same pan, saute the carrots, celery, onions and shallots for 5 – 10 minutes until lightly browned. Stir in the tomato paste. Sprinkle with flour and cook 3 – 4 minutes, stirring to scrape up the browned bits from the bottom of the pan.  Add the meat, garlic , wine and beef stock. Cover and place in the oven for three hours or until the meat is fork-tender.

Remove the meat from the casserole to a plate and cover with aluminum foil.  Cook down the juices over medium heat to thicken the gravy. Return the meat to the gravy. Serve with mashed potatoes or egg noodles.

The Dude says that this dish is in my top three dishes. The beef just melts in your mouth.  Oh, and the wine that I used in the dish, and that we drank with dinner was made by our good friend Bev. Thanks, Bev! The cabernet/merlot blend was awesome and perfect for this dish!

This is a classic bistro dish and will wow your family and guests. Bon Appetit!

This is a classic bistro dish and will wow your family and guests. Bon Appetit!

Posted in Main Dishes, Side Dishes | Tagged , , | 1 Comment

Tomato Tart

This summer has been a phenomenal time for tomatoes. For several years we’ve had absolutely no luck growing them in our garden. For a few years it was due to a tomato blight that killed all the plants before they could bear any fruit. Then last year we had a terrible drought. But this year the stars aligned and we have more tomatoes than we know what to do with! I’m in heaven! Romas, Lemon Boys, Mr. Stripey…. the list goes on and on.

Some of the bounty from the garden.

Some of the bounty from the garden.

We’ve had a lot of insalata caprese (tomatoes/basil/mozzarella salad), tomatoes on sandwiches, marinara sauce – hey, I’m not complaining! However, tonight I wanted to try something different with our tomatoes. I grilled some lovely steaks and steamed some fresh asparagus, and to round it out I decided I wanted to make a tomato tart.

Basically I raided my refrigerator to create this dish. You can do it too! A quick dough for the tart, tomatoes, and whatever else suits your fancy. Here is what I did. FYI, it was yummy!

Tomato Tart

For the dough:

  • 1-1/2 cups flour
  • 4-1/2 ounces butter, cold, cut in small cubes
  • 1/2 tsp salt
  • 1 egg, lightly beaten
  • 2-3 TBSP water

In a food processor combine the flour and salt. Add the butter and pulse until the mixture resembles cornmeal. Add the egg and 2 TBSP water and pulse until the mixture forms a ball. Do not overwork. Turn out on a lightly floured surface. Roll out and line a 10 inch tart pan with the dough. Cover in plastic wrap and refrigerate until ready to use.

For the topping:

  • 3 large tomatoes, sliced in 1/4″ slices
  • 1/4 cup olive tapenade (jarred or homemade)
  • 8 large basil leaves
  • 6 ounces fresh mozzarella
  • 2-3 TBSP of good quality olive oil
  • Salt and pepper to taste

While the dough is chilling, slice the tomatoes in 1/4″ slices. Place on several layers of paper towels, salt the tomatoes and let rest for 45 minutes to an hour. This will remove some of the excess water from the tomatoes.

Look at the vivid color on these tomatoes.

Look at the vivid color on these tomatoes.

Pre-heat oven to 425 degrees F.

Remove the tart pan from the refrigerator and spread the olive tapenade over the surface of the tart dough.

Salty, yummy olive tapenade. Such a great earthy taste that works great with the sweetness of the tomatoes.

Salty, yummy olive tapenade. Such a great earthy taste that works great with the sweetness of the tomatoes.

Blot the tomato slices with a paper towel to remove the excess moisture. Place the tomatoes in a single layer on top of the tapenade. Lay the basil leaves on top of the tomatoes. Then add the mozzarella slices. Drizzle with olive oil.

First layer - tomatoes!

First layer – tomatoes!

Second - lovely basil joins the party.

Second – lovely basil joins the party.

Can't forget the mozzarella!

Can’t forget the mozzarella!

Bake in a 425 degree oven for 30 minutes. Remove from the oven when the crust is golden brown and the cheese is melted and bubbly. Let the tart rest for 5-10 minutes before cutting into wedges.

Crispy, salty, acidic, sweet, and creamy. Oh yes!

Crispy, salty, acidic, sweet, and creamy. Oh yes!

This dish is bursting with the flavors of summer. Intense, fruity tomatoes, the salty, earthy olive tapenade, and to top it all off, the fresh, creamy mozzarella. This is summer on a plate! Buon appetito!

Posted in Side Dishes | Tagged , , , | 2 Comments

Supper on a Summer Sunday

I’m sitting on my deck with the dogs, watching The Dude add new steps off the deck. We are getting a black lab puppy in a few weeks and the step off the deck was a bit steep. So, it’s time for a little DIY around here! I’m so very lucky that my husband enjoys doing these kind of projects.

It’s a gorgeous day today in NW Indiana. Temperatures in the mid 70’s, low humidity, wispy white clouds in a pale blue sky. My idea of a perfect summer day. As I sit here I see the grill, and beyond that our garden that is loaded with tomatoes. This reminds me that I have to figure out what’s for dinner tonight. Well, by the time you read this we will have feasted on grilled chicken breasts and a lovely Panzanella Salad. I posted my recipe for Panzanella over a year ago, so if you are interested in making this delicious tomato, cucumber, pepper, and bread salad here is my link: https://domesticdivaeileen.wordpress.com/?s=Panzanella+ .

On Friday, The Dude and I traveled to near-by South Bend. We were picking up a few items at Petsmart for the new puppy. Since we were traveling to South Bend we decided to go to one of our favorite supermarkets, Bamber’s. They carry so many different food items from around the world, as well as an incredible selection of cheeses, beers, and wine too. While we were there we picked up some flaked sea salt infused with smoke. This adds a phenomenal flavor to any grilled meats.

Smoke Crystal Flaked Sea Salt. Such an incredible, intense flavor.

Smoke Crystal Flaked Sea Salt. Such an incredible, intense flavor.

When I grill chicken I prefer to use chicken breasts with the skin on and still on the bone. I think it grills up much nicer and the chicken stays moist. If you are watching your weight then just remove the skin after it has grilled. Toss the chicken  breasts in a zip lock bag, pour a few tablespoons of olive oil in the bag, add your favorite fresh herb – we used Marjoram today, pepper, and salt. I used the smoked sea salt – yum!

Grill your chicken over medium high heat, skin side down. The chicken breasts we grilled were huge!!!! You will need to gauge the time based on the weight and thickness of the chicken you are grilling. Flip the chicken and continue grilling until done. The chicken should be firm, but not hard.

Plate the chicken and add the colorful Panzanella Salad. A nice dry Pinot Grigio wine would be a great beverage with this meal.

Lovely summer flavors. And  healthy too!

Lovely summer flavors. And healthy too!

So, get out to the grill and make this lovely dinner. It’s August and you don’t want to waste any beautiful summer days!

Posted in Main Dishes, Side Dishes | 1 Comment

When Life Gives You Lemons …

Make lemon blueberry layer cake!

The Dude and I are heading to a party tomorrow. The annual speed boat races are being held on Lake Michigan this weekend, and our friends live right on the lake. Their deck makes for the perfect viewing platform and the weather promises to be perfect! I’m so looking forward to going – especially since I’ve been working every weekend at a local winery. I’m ready for a full weekend off.

I was asked to bring dessert for the party guests. I love the combination of lemon and blueberry. To me it represents everything I love about summer. Tart refreshing lemons with a pop of juicy, sweet blueberries just picked at the blueberry farm. What better way to put them together than in a lovely summer layer cake!

Lemon – Blueberry Layer Cake

Cake Ingredients:

  • 2 1/2 cups cake flour
  • 2 teaspoons baking powder
  • 1/2 teaspoon baking soda
  • 1/4 teaspoon salt
  • 1 cup (2 sticks) unsalted butter, slightly softened
  • 1 1/2 cups granulated sugar
  • 2 large whole eggs, at room temperature
  • 3 large egg yolks, at room temperature
  • 2 teaspoons vanilla extract
  • 1 teaspoon grated lemon zest
  • 1/4 cup fresh lemon juice
  • 1/2 cup whole milk

Lemon Filling Ingredients:

  • 2 large egg yolks
  • 1/3 cup granulated sugar
  • 1/4 cup fresh lemon juice
  • 2 tablespoons unsalted butter, slightly softened
  • Pinch of salt
  • 1 teaspoon finely grated lemon zest
  • 1/2 cup heavy cream

Lemon Frosting Ingredients:

  • 3/4 cup (1 1/2 sticks) unsalted butter, softened
  • 3 1/2 cups confectioners’ sugar
  • 2 tablespoons heavy cream
  • 2 teaspoons fresh lemon juice
  • 1/4 teaspoon lemon extract
  • 1 teaspoon finely grated lemon zest
  • 1 pint fresh blueberries

Directions
To make the lemon cake, preheat the oven to 350 degrees F. Butter the bottom and sides of two 9-inch round cake pans. Dust the pans with flour and tap out the excess.

In a medium bowl, sift together the flour, baking powder, baking soda, and salt. Stir together the dry ingredients with a whisk. Set aside. In an electric stand mixer, using the paddle attachment or beaters, beat the butter on medium speed for about 30 seconds, or until creamy. Gradually add the sugar, increase the speed to medium-high, and continue to beat until the mixture is light, about 3 minutes. Scrape down the sides of the bowl. Add the whole eggs and egg yolks, one at a time, beating well after each addition. Beat in the vanilla and lemon zest. Reduce the speed to low and gradually beat in he lemon juice (the batter will appear curdled at this point smooth out after you add the dry ingredients). Beat in the dry ingredients in 3 additions alternately with milk in 2 additions. Scrape down the sides of the bowl and beat for another 10 seconds. Scrape the batter into the prepared pans.

Bake the cakes for 20 to 25 minutes, or until a toothpick inserted into the center of each cake comes out clean. Cool the cakes in the pans on wire racks for 20 minutes. Invert the cakes onto the rakcs and cool completely.

To make the lemon filling, in a medium nonreactive saucepan, whisk together the yolks and sugar until combined. Whisk in the lemon juice, butter, and salt. Cook over medium-low heat, stirring constantly with a wooden spoon, for 5 to 6 minutes, or until the mixture turns opaque, thickens, and coats the back of the spoon. Do not let the filling boil, or it will curdle. Pour the mixture through a fine mesh sieve into a medium bowl. Stir in the lemon zest and allow the filling to cool. Cover with plastic wrap, pressing directly onto the surface, and refrigerate for 1 hour, or until chilled.

In a clean bowl of the electric mixer, using the whisk attachment or beaters, beat the heavy cream on high speed until soft peaks form. Remove the lemon filling from the refrigerator and whisk until smooth. Using a rubber spatula, gently fold the whipped cream into the filling. Cover the bowl and refrigerate the filling until ready to assemble the cake.

To make the lemon frosting, in the large bowl of the electric mixer, using the paddle attachment or beaters, beat the butter on medium speed until creamy, about 30 seconds. Gradually beat in the confectioners’ sugar on low speed. Add the cream, lemon juice, vanilla, and lemon zest. Increase the speed to medium-high, and beat for about 3 minutes, or until the frosting is light and fluffy.

To assemble the cake, place 1 cake layer on a serving plate. Pile the lemon filling onto the center using a small offset metal spatula, and spread it into an even layer, leaving a 1-inch border around the edge of the cake layer. Place a single layer of fresh blueberries on the lemon filling. Top with the second cake layer. Frost the top and sides of the cake with the lemon frosting. (If some of the filling oozes out from the middle, just blend it with the frosting around the sides of the cake.) Garnish the top of the cake with more fresh blueberries. Serve the cake immediately, or refrigerate and bring to room temperature before serving.

Pretty summer presentation - and even tastier cake. Enjoy!

Pretty summer presentation – and even tastier cake. Enjoy!

Posted in Desserts and Sweets | Tagged , , , | 2 Comments

Blueberry Hand Pies

I just made one of the BEST blueberry pies around. What makes it so great? Not only is the taste wonderful, but they are hand pies. Lovely little pillows of pie crust filled with an amazing blueberry compote that you can carry anywhere. Picnics, parties, sitting in front of the television watching the mens semi-finals of  Wimbledon. Okay, so now you know what I did this afternoon!

The biggest challenge is going to be keeping myself from grabbing one everytime I go by the table!

The biggest challenge is going to be keeping myself from grabbing one everytime I go by the table!

The crust is light and flakey with a crunch of turbinado sugar. The blueberry filling is thick and sweet with fresh blueberries from right up the road from our house.

I found the recipe in this month’s issue of Midwest Living magazine. Click the link for these wonderful fruit hand pies.

Enjoy!

Posted in Desserts and Sweets | Tagged , , | Leave a comment

Simplicity

Basil. To me it is the most aromatic, flavorful herb around. It reminds me of summer too! I’m growing basil in a large pot on my patio and while we were on vacation it took over. Must be due to all the rain we’ve had in this part of the world lately. All I know is that I need to use it now!

Beautiful basil!

Beautiful basil right out of my garden!

I decided to make one of the most simple, delicious topping for pasta – pesto. Pesto is basil, olive oil, pine nuts, garlic, parmesan cheese and a little salt. Whirl it around in a food processor, boil up some pasta, toss the pesto on it and dinner is served. Vegetarian friendly too! Best part about the pesto? You can make up a large amount and freeze it. Then you can enjoy a taste of summer in February when the cold winds blow.

Basil Pesto

  • 2 oz (about 6 cups) basil leaves (Genovese basil is best if you can get it)
  • 1/3 cup pine nuts
  • 2 cloves of garlic, skinned and whole
  • 1/3 cup parmesan, grated
  • 1/2 cup olive oil
  • 1 tsp salt

In a food processor combine pine nuts, garlic, and olive oil. Pulse until smooth. Add basil leaves in small additions and pulse until a puree. Add cheese and salt. Pulse briefly.

Pesto. What color, aroma, and big, big flavor!

Pesto. What color, aroma, and big, big flavor!

I like to make some fettucine and toss with the pesto. Top with more parmesan to taste.

Oh my gosh! This is so darned good. Simplicity on a plate!

Oh my gosh! This is so darned good. Simplicity on a plate!

Buon Appetito!

Posted in Main Dishes | Tagged | Leave a comment